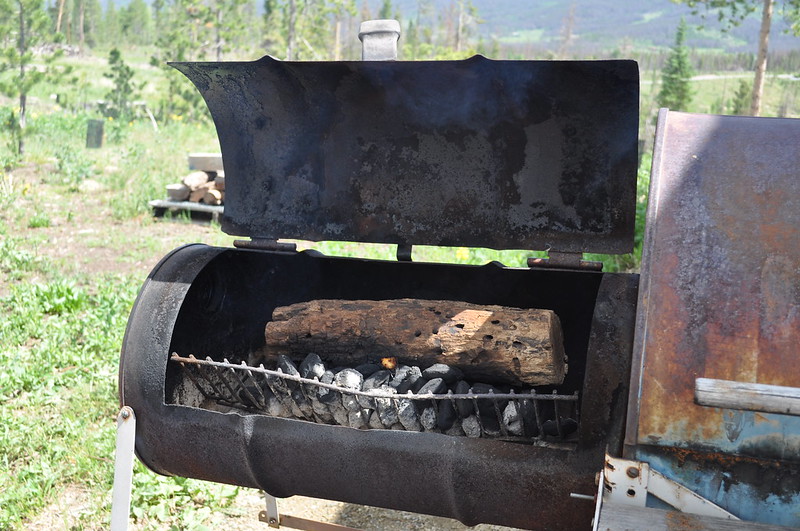
Building a DIY smokehouse is a fun way to spend the day. You’re going to like this design project because you know you made the smoker that the food got cooked in.
Before you get going, you need to figure out what smoker you want to build. With the right plans, you can build your DIY smoker with almost anything. I’ve put this list together of the best DIY smoker design options. That way, you can have a smoker for less than $100.
These DIY smokehouse plans all come with the instructions, basic materials, and the tools you need. I even tell you what skills are helpful because I want you to know you can do it before you build your smoker. DIY projects like this are fun, so let’s get going!
1. The Ugly Drum Smoker (55-Gallon Homemade Smoker)

The ugly drum smoker is a very basic project design, and it’s simple to build. Your goal is to turn a 55-gallon drum (safe for food) into a smoker, and you can do it in about three hours in your backyard. Get this: There’s no welding needed! How awesome is that?
You need a drum, and it’s possible to buy a new drum for about $150. Since you probably want to build a DIY smoker for less than $100, I recommend finding a used drum.
It’s important that the drum hasn’t been treated using an epoxy coating. While it prevents rust, the epoxy doesn’t like to get heated and gives off toxic fumes when you use the smoker drum. You definitely don’t want that in your smoked meat!
Now, you should get together all the materials and tools. I explain that below. From there, you can have a homemade smoker in an afternoon!
Basic Materials Necessary:
- 55-gallon drum with lid as the smoker (epoxy free and food grade)
- 3/4-inch 90-degree elbow joints with threads
- Four 3/4-inch threaded pipes (24 inches long)
- Fine sandpaper
- 12×48-inch expanded metal mesh piece
- Various fittings (U-bolts, mounting plates, ball valve flange pipe fitting)
- Marker
Tools Necessary:
- Drill
- Angle grinder
- Vise
- Cutting table
- Wrench
- Pliers
Skills Needed:
- Sanding
- Angle grinding
The Steps:
I suggest printing the smokehouse plans before you get started, so it’s easier to get going on the drum smoker project.
Assemble the Four Intake Valves
- Use your 3/4-inch threaded pipes and the right fittings here. Connect your close nipple to a 90-degree below, and then attach the elbow to the 24-inch pipe. Slip a mounting plate and U-bolt over the pipe and attach your brass ball valve.
- Hand-tighten all of the parts.
- Clamp the elbow with the vice.
- Secure the connections (wrench) on the facets.
- Use your 55-gallon drum smokers for all types of meat!
Make Your Lid Handle
- Hand-tighten the 1/2-inch close nipple with a flange pipe fitting.
- Align the opening for the reducing elbow over the nipple. Now, turn the elbow into it.
- Thread your 6-inch piece of 1/4-inch pipe into that elbow, and tighten it with pliers.
- Slip a spring handle over that pipe, threading the cap into the pipe end to hold it in place.
Construct a Fire Basket
- Take your 12×48-inch expanded metal piece. Mount it to some plywood with drywall screws and mark the dimensions.
- Make the cuts with the angle grinder and a cutoff wheel.
- Mark the metal 2.5 inches from the bottom (lengthwise).
- Align a charcoal grate onto the mark and roll that metal into a cylindrical shape.
- Secure that cylinder with three stainless steel bolts (1/4-inch). Put two bolts on top of the grate and one underneath.
- Use stainless steel wire to form a handle. Thread an end through the basket, twisting it to close. Take the free end and do the same to the opposite side.
Prepare Your Drum Smoker
- Scrub the barrel to make sure it’s clean. Use fine sandpaper to buff the insides.
- Create an 11.5-inch circle (diameter) on the lid in the center. Drill eight 1/2-inch holes around that circle with equal spacing.
- Thread your 1/4-inch pipe plug into every hole.
- Put the handle on the lid. Mark those four bolt locations and drill the holes to bolt the handle onto the lid.
- Mark hole locations for your grill supports, air intakes, and thermometer. Use a center punch to start each hole, boring 1-inch intake holes with your bit. Test each one by using a threaded 3/4-inch close nipple.
- Drill the grill-support holes with a 1/4-inch bit.
- The hole size you require for the thermometer depends on the one you use.
- Add your air intakes by putting the close nipple into the holes and rotating the entire assembly.
- Make sure the intakes are aligned vertically, mark the locations of the U-bolts, drill the markings, and add a faceplate to each side of the barrel’s walls.
- Secure everything and attach the thermometer.
- Use your drum smoker!
2. DIY Flower Pot Smoker

Are you craving smoked meat NOW? I know it’s hard to want something and have no way to cook it. The good news is you can make a homemade smoker for less than $100. With the DIY flower Pot smoker plans, you can build a smokehouse in no time.
If you already have an old clay pot at home, you’re golden. If not, you can always go to a local garden shop and buy one.
Basic Materials Necessary:
- Clay pot as the smoker (two)
- U-Bolts (with washers and nuts)
- BBQ basket
- Little BBQ charcoal grate
- Circular grill grate
- Wine corks
Tools Necessary:
- Drill
Skills Needed:
- Drilling
The Steps:
- The first thing needed to make your DIY smoker is to drill airflow holes into the clay pots. You don’t want to crack the container, so make sure you start with a little drill bit. Work your way up to the best size.
- Shave a few wine corks down to fit in the air holes of the smoker. This is going to help you control the airflow in the smoker.
- One clay container holds the charcoal for the smoker. I suggest putting a brick in that pot with a BBQ grate on top of it.
- The other pot holds the smoke in the smokehouse. Both of them are going to get very warm. I recommend you put a handle on the top of your smoker. To do that, drill two holes in the bottom and install standard U-bolts.
- Once that’s all done, you’re ready for smoking meat. I recommend that you get some BBQ gasket tape to create a seal between both smoker pots, but it’s not required to build the smokehouse.
- Add the coals to the grate, light them, and pop in your soaked wood chips. Put the food in on the circular BBQ grill grate. Now, place the second pot on top, and you’re smoking meat!
3. DIY Old Gas Tank Offset Smoker
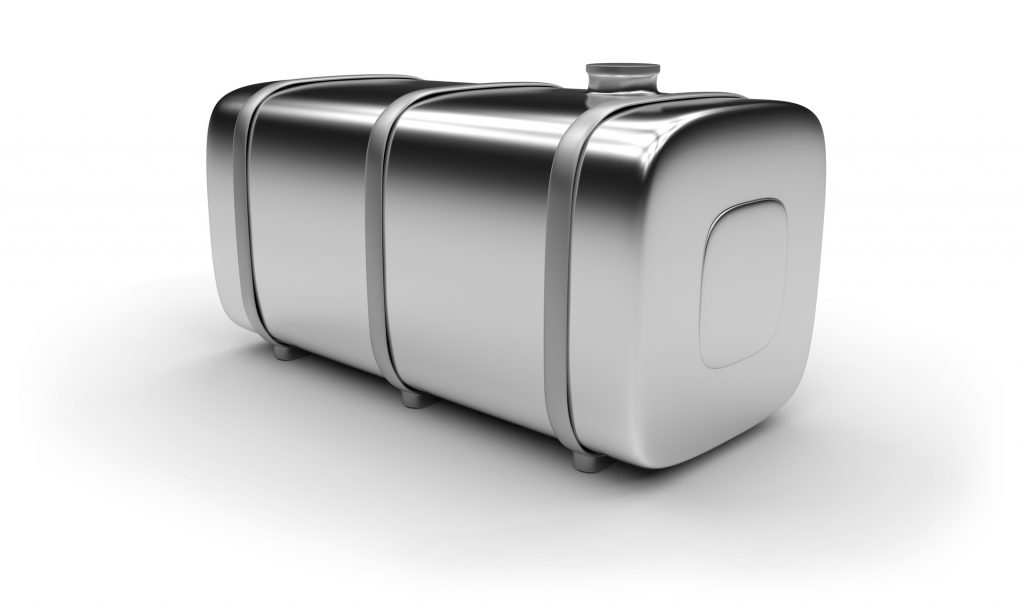
It’s exciting to build a smoker for less than $100 is exciting, and the gas tank offset smoker is a bit complicated. Don’t let that scare you, though. With the right equipment and skills, you can have the perfect homemade smoker. My smokehouse plans are simple to understand, too! Plus, you can have a DIY smoker for less than $100 if you research tanks and try to keep costs low.
You need specialty tools to build this smokehouse, and it’s going to take more time. Let’s get started!
Basic Materials Necessary:
- Old gas tank
- Steel pipe
- Steel sheeting
- Steel box sections
Tools Necessary:
- Angle grinder
- Lathe
- Vise
- Pivot drill
- Welding torch
Skills Needed:
- Drilling
- Welding
- Advanced metalwork
- Lathe Usage
The Steps:
- The old gas tank is going to be the cooking chamber for your offset smoker. It needs to be thoroughly cleaned to get all the fuel fumes and chemicals out of it. I recommend buying a brand new one for this DIY smoker.
- You have to cut the steel box sections to build the frame of your smoker. Then, weld those pieces together.
- Make sure that you don’t have any smoke leaks before you go on with the DIY smoker build.
- Take the steel sheeting and build your firebox. It should be little, but it also has to have no leaks.
- The steel pipe creates your smokehouse chimney.
- Once you have all the pieces welded and ready, you should fit everything together. The gas tank is offset on the right or left of the smoker, and the firebox goes to the other side of your smokehouse.
- You’re going to have to test the entire smoker once you build it to ensure that there’s enough airflow circulating the smoke around in the cooking chamber.
4. DIY File Cabinet Smoker

If you don’t have the time or patience to make an offset smoker with a gas tank, another idea is to create a file cabinet smoker. You can easily get the right materials, and it’s a fun way to spend the day. These projects really do cost less and can be just as good as a store-bought smokehouse. You’re going to be smoking in no time!
Basic Materials Necessary:
- Large, unpainted filing cabinet
- Two temperature gauges
- BBQ racks
- Heat-resistant paint
Tools Necessary:
- Drill
Skills Needed:
- Drilling
- Painting
The Steps:
- The first thing to do is get all the tools and materials needed to build the smokehouse.
- Make sure that the filing cabinet is unpainted because you don’t want to have any epoxy paint. As the paint gets hot on the smoker, it gives off toxic fumes, which could turn you off your smoked fish or meat.
- Coat the filing cabinet in some heat-resistant paint. Make sure to follow all directions on the paint container.
- When that’s done, you can easily drill air holes into the top of your cabinet for the smoker. Make sure you also get through the drawer bottoms.
- Fit two temperature gauges on the smoker. One should be at the top, and one needs to be in the middle.
- Leave the lowest drawer of the smokehouse free of holes to be the firebox. The other drawers can have standard BBQ racks on them to hold the food.
- This budget-friendly smokehouse project only takes about 30 minutes to complete!
5. DIY Pallet Smokehouse
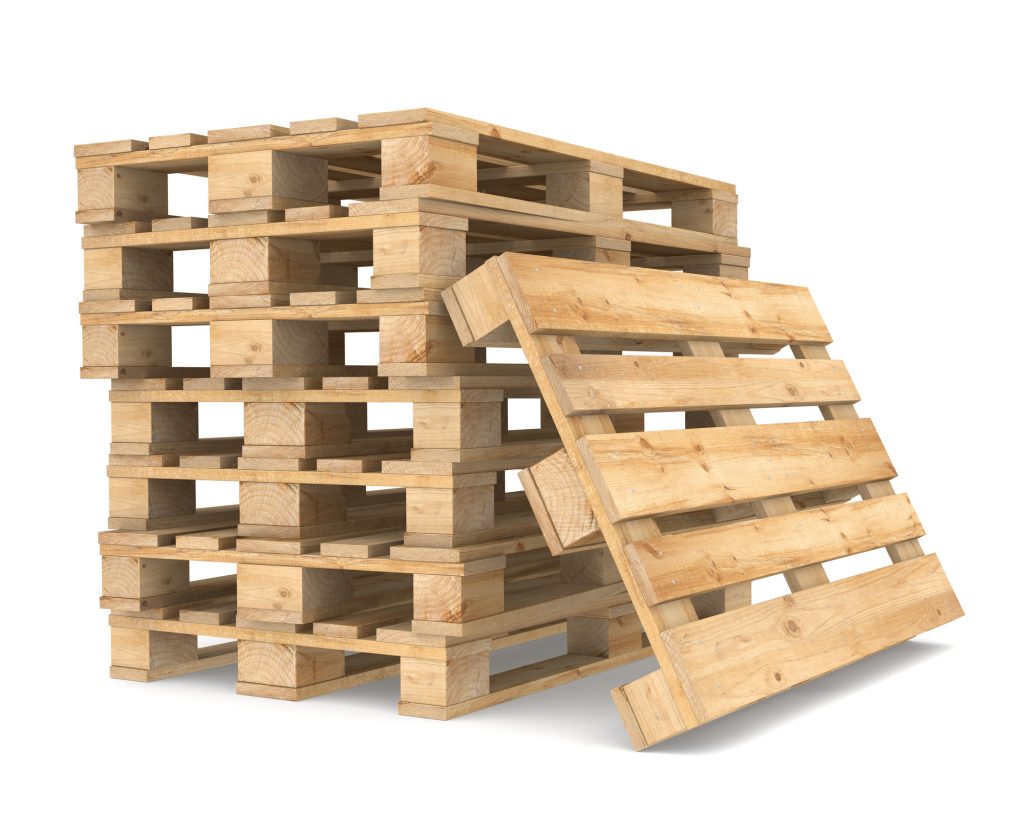
Do you have any pallets lying around the garage or shop? Guess what? You can turn those pallets into a DIY smokehouse easily! While many of the smokers on my list are little and use metal or clay, this smoker is very large and made only of wood!
If you already have the pallets, you can do most of the work without spending money on your smoker. However, you can also get used pallets or find free pallets for wood projects.
Basic Materials Necessary:
- 20 to 30 deconstructed pallets
- 1 1/4-inch screws
- 2 1/2 inch screws
- Corrugated tin roofing (4×3 feet) **Must not use galvanized tin
- Aluminum flashing
- Heavy-duty tin foil
- Three hinges
- Handle (for your door)
- Roll of aluminum screen
Tools Necessary:
- Work gloves
- Safety glasses
- Staple gun
- Skil or table saw
- Utility knife
- Metal or tin snips
- Measuring tape
- Drill bits (countersink and 1/8-inch bit)
- Drill gun (preferably cordless)
- Reciprocal saw with bimetal blade (to take apart the pallets)
Skills Needed:
- Drilling
- Woodworking
The Steps:
- The idea here is to deconstruct all of the wooden pallets. That way, you have the raw materials (pallets) needed to create your smokehouse plans.
- Take the wooden pallet pieces and build your outhouse design. Once that is done, you should line the pallets with your heavy-duty aluminum foil.
- Use the pallets to make the shelves for the food to sit on with an aluminum screen and pallet wood material. Create the right size by adjusting the pallet wood you use. Use screws to attach the pallets together. Next, wrap the aluminum screen around it all to keep the shape.
- The bottom of the smokehouse is your firebox, and you use aluminum flashing to make that. Use the longer screws to attach the flashing and get it hooked to the DIY smokehouse.
Pallets are a great way to get a grill going for smoking. This guide should help you understand how to get the pieces together for your smokehouse. Remember, pallets are made of wood, so you do need to be careful when building your homemade smoker. If the pallets get too hot, they could catch fire. I recommend wetting the pallets before smoking meat each time.
6. DIY Trash Can Smoker

Everyone has a trash can they don’t use, and it’s perfect for your smokehouse plans. You just need a hot plate and an aluminum trash can. Sorry, plastic isn’t going to work for the heat you generate from your DIY smoker!
It’s simple to build your DIY smoker from a trash can. Let’s find out what you need, and know that a little goes a long way.
Basic Materials Necessary:
- Aluminum trash can with a lid
- Grating
- Electric hot plate
- Temperature gauge
- Wood chip box
Tools Necessary:
- Drill
Skills Needed:
- Drilling
The Steps:
- The first thing you need to do to build your DIY smoker is to cut a hole in the side of your trash can. That way, the hot plate flex has a place to go.
- Put the hot plate in the bottom of your trash can smokehouse.
- Place the wood chip box on top of your hot plate.
- Add a standard circular BBQ grill grate. This is going to hold the meat at the top of the smokehouse. Whenever the wood smokes, get the lid.
- Next, you should drill some holes for airflow in the lid. This could improve circulation a lot in the smokehouse.
- Fit in a hole in the side for your temperature gauge.
The good news is this homemade smoker takes less than 30 minutes to build and costs under $50!
7. Cinderblock and Wood Smokehouse
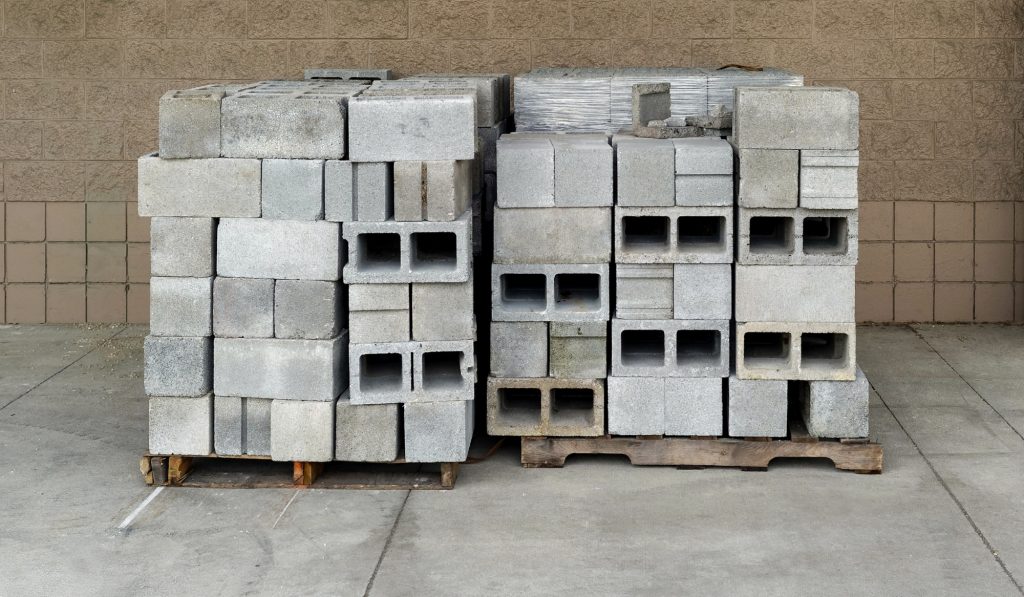
Do you want a more permanent structure to smoke meat? If so, a cinderblock and wood smokehouse is the perfect solution. You could get a decent-sized smoking area while on a budget.
Basic Materials Necessary:
- 200 cement block (6x8x16 inches)1
- 1 ton of sand
- 1 ton of gravel
- Hydrated lime
- Five bags Portland cement (94 pounds each)
- Eight 2x6s (6 feet long)
- Five 2x6s (10 feet long)
- 10 1-inch 10-foot boards for nailers
- Four 1x10s (10 feet long)
- Two 1x8s (10 feet long)
- Two 1x10s (8 feet long)
- One handle
- Two hinges
- Six sheets of metal roofing (3 feet long by 55 inches wide)
- Metal screws, nails, and Tapcons
- 9-foot metal ridge cap
- Eight 1/2-inch L bolts
Tools Necessary:
- Chalk line
- Level
- Square
- Tape Measure
- Trowel
- Wheelbarrow or mortarboard
- Corner plastic line blocks
- Circular saw
- Drill
- Hammer gun
- Speed square
Skills Needed:
- Bricklaying
- Woodworking
The Steps:
- Prepare the ground. Make sure the area you select for the smokehouse is level and clear or clear it yourself. Give yourself a footer that’s a bit wider and longer than what you need, and leave yourself some space for the build. Mix up the gravel and cement in a wheelbarrow and put enough water in for the best consistency. I recommend a footer that’s 16 inches wide and up to 8 inches deep.
- The first thing to do for your smokehouse is set up the footer. Next, you should use a square, tape measure, and chalk line to figure out where to put the bottom layer of blocks. It should be 80 inches wide and 96 inches long.
- On top of the footer, measure the length for each wall of the smokehouse. Ensure your rough layout is close for the four corners. Make your chalk line to show you where to lay the first layers of brick.
- Apply your mortar cement layer for the first block. I recommend mixing the mortar cement with two parts sand, 1/2 part hydrated lime, and one-part Portland cement. Just add enough water, so the mortar is your preferred consistency (like mashed potatoes).
- Check each block with a level after placing it.
- Build your form out of wood, and make sure it’s the same width and height as the blocks for the smokehouse. Set it on the layer of blocks once they are dry.
- You now need to build the roof of your smokehouse. Pour the blocks and install some 1/2-inch L bolts to hold the top plate. You can use 2x6s for this. Cut rafters from the 2x6s and use your speed square to figure out the right pitch. Nail the rafters to a ridge board and then to the top plate.
- When the main structure of the roof is built, you can affix metal roofing and use roof screws.
- Attach a stove door that’s the same size. I built one from two 1x8s and two 1x10s. Use Tapcons to hold the hinge screws in place and install it.
This is a very large smokehouse, and it can really add beauty to the property. However, you should ensure that the inside holds smoke well. The cost for this DIY build can get pretty expensive. Still, I chose to include it to give you an idea of what can be done.
8. Propane Tank DIY Smoker
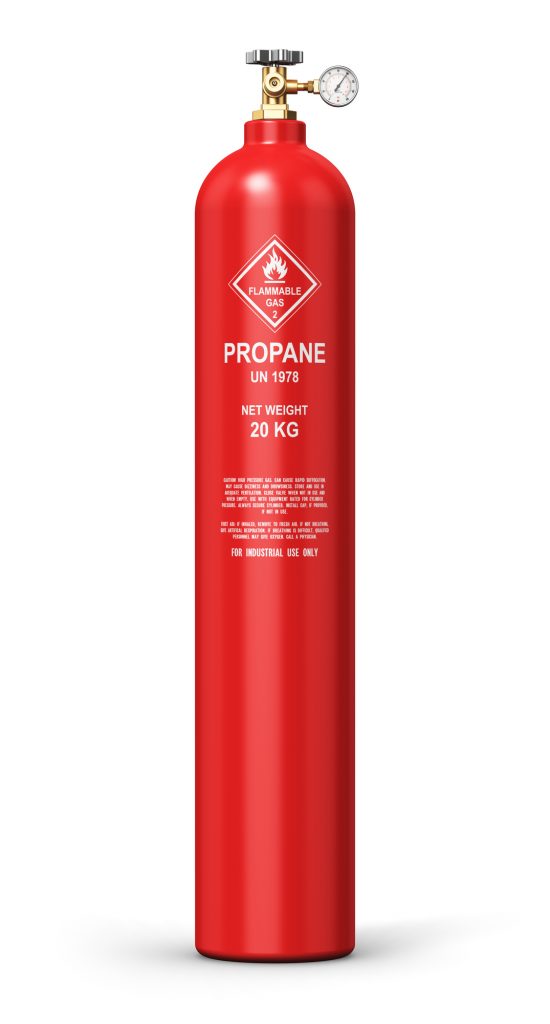
If you really want to get creative, you could take a 100-pound expired propane tank and have your DIY smoker built easily. The inside is already sealed, so you’re good to go. This idea is a great one for people who already have a propane tank and want a simple smokehouse project for the backyard to smoke meat.
There are different design ideas for the backyard, but this one is simple. You’re on your way to building great smokers with this helpful guide.
Basic Materials Necessary:
- Expired propane tank
- Expanded metal mesh
- Steel pipe
- Heat-resistant handles
- Hinges
- Temperature gauge
Tools Necessary:
- Drill
- Angle grinder
- Spot welder
Skills Needed:
- Welding
- Metalworking
The Steps:
- Before you grab the meat for smoking, you have to add water to the inside of the propane tank through its valve. You don’t need to put in a lot of water, but there needs to be enough so that it sits inside the tank where you’re cutting or drilling. That way, you don’t ignite the residual propane.
- Drill a hole in the bottom of your tank and fill it with water. Let it all drain out.
- Use the angle grinder to cut the top off the tank (with the valve). Draw two doors (one for the meat shelves and one for the firebox). Those sections have to be cut out. Then, you add hinges (welded) and reattach the metal pieces as doors).
- Cut out an air intake for the front of your firebox door and remove the valve from the top. Add a steel pipe chimney in its place.
- The grates are standard circular BBQ grates. You can also make your own with expanded metal mesh. Then, cut a hole out for the temperature gauge, and you’re ready to use the smokehouse.
9. Building a Smoker for Less than $100
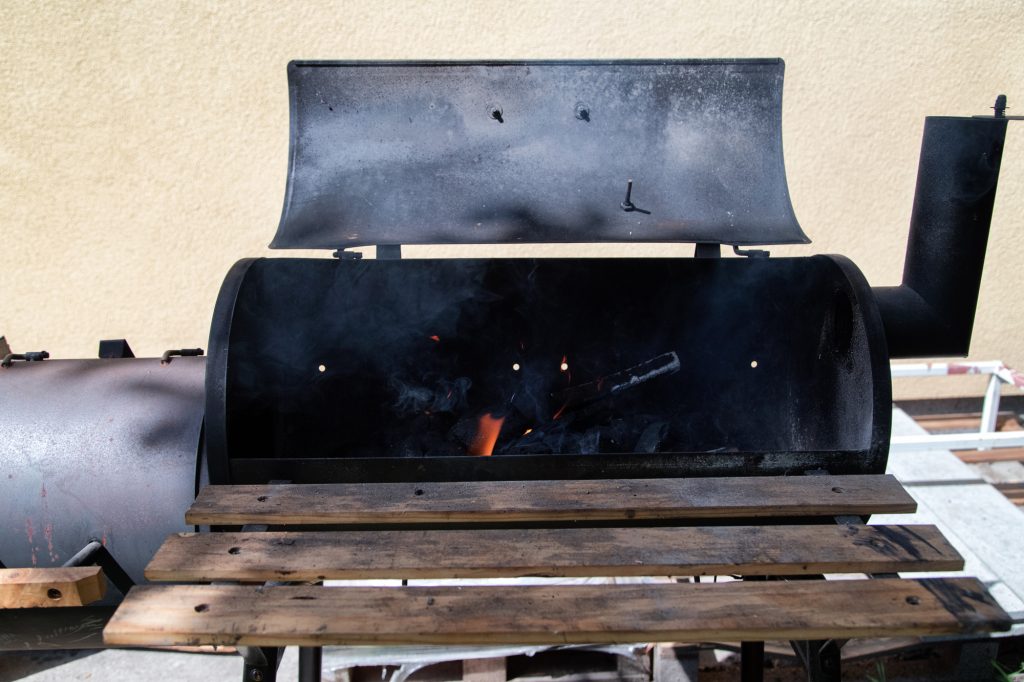
Most of the DIY smoker projects I listed here cost much less than $100 and are quick to build. However, if you’re on a really tight budget, you can build one for about $10 and in five minutes!
First, you should get two same-size aluminum foil baking pans. You also need stainless steel cooling racks, bull-dog clips, wood pellets, and heavy-duty aluminum foil.
To build it, the body of the smokehouse is the foil baking pans (you place one on top and one on the bottom). Hold them together with the bull-dog clips.
Place the stainless steel cooling racks inside the pans. I find it’s best to prop them up with a brick.
Wrap the wood pellets in some foil to get a ‘pellet burrito.’ Cut a hole in the lower pan’s side and top of the top pan for air holes.
Light the pellet burrito using a blow torch and pop it in your lower pan as close to the airhole as possible. Add meat to the steel racks, clip your pans together, and you’re smoking with a DIY smoker!
FAQs
Can You Build a Smoker on a Budget?
Smokers don’t have to cost a lot to make. You can have a simple project to do in a day where you can smoke meat. Building a smoker on a budget is easy with this guide. There are tons of design ideas out there, and my guide has tons of smokers out there. Building a DIY smoker to smoke your meat is so easy! You can have a DIY smoker for less than $100.
Is It Easy to Smoke Meat Without a Smoker?
It’s not really that hard to use a grill for smoking. However, many people find that building a DIY smoker is easy. That way, you have a separate tool to smoke your meat. My guide contains all the information you need for building a DIY smoker for smoking.
How Do I Make My DIY Smoker Hotter?
If the temperature goes over 250 degrees Fahrenheit, you should close the vents when smoking. That way, less oxygen gets in, and the DIY smoker gets hotter. When you build the smoker, make sure the drum is completely sealed, too.
Final Thoughts
Everyone has the idea to create a DIY smoker at some point. However, you could go a bit further and actually make one. Many of the smokers I listed earlier were built in a day. Some of them are large projects that take a bit of work and skill. Still, you can have a piping hot smoker for less than $100 with the right smoker plans.
The cost is important when building smokers. These design ideas are all simple, and this guide should have explained everything you need. With a simple project like this, you can smoke meat to your heart’s content. It’s much better than the grill, and you can have a DIY smoker that meets all your needs.


![10 Best Vertical Pellet Smokers in 2022 – [Updated Buying Guide]](https://mygrillworld.com/wp-content/uploads/thumbs_dir/Best-Vertical-Pellet-Smokers-1xgttdoe85exavxq0bse7nn1t2zsx384aro3de153vl0.jpg)

